Quick answer: keeping your hiking pack organized comes down to 5 tips: give every item a fixed home, group small things in colour-coded bags, pack by when you will need each item, keep essentials in the pockets you can reach, and reset the pack at every camp or after every hike. A consistent system means you can find your headlamp, rain jacket or first-aid kit in seconds, even in the dark.
How we put this together: these are standard packing habits used by experienced hikers, with fitting and checklist references from hiking organizations linked in the text.
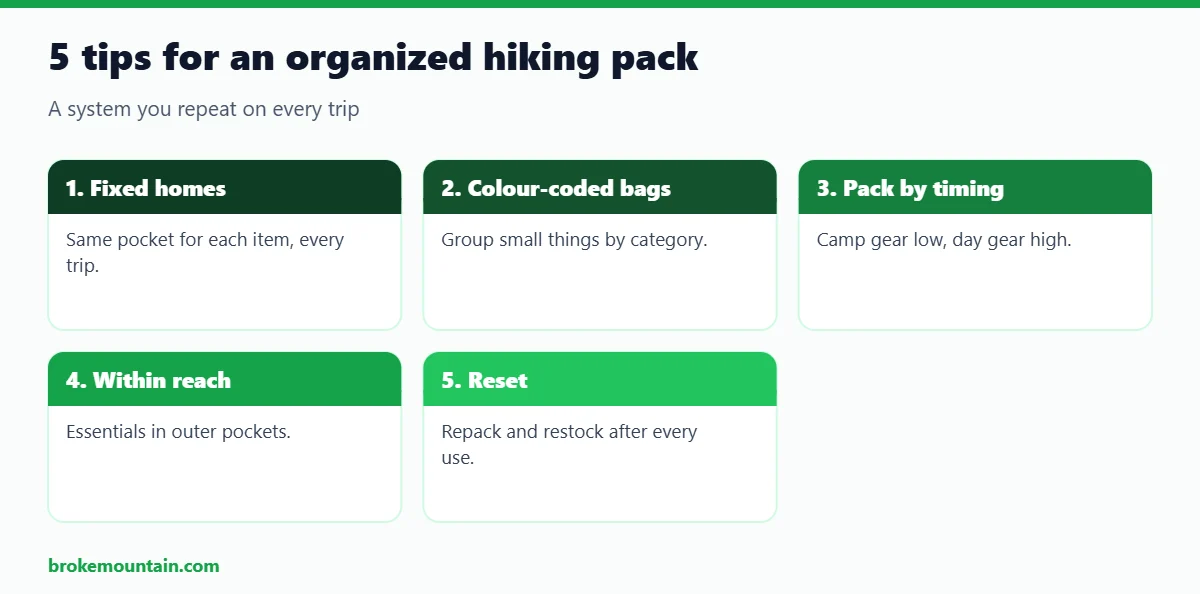
5 tips for keeping your hiking pack organized at a glance
| Tip | What to do | What it prevents |
|---|---|---|
| 1. A fixed home for every item | Same pocket, every trip | Searching, and leaving things behind |
| 2. Group and colour-code | A few bags by category | Loose small items at the bottom |
| 3. Pack by when you need it | Camp gear low, day gear high | Unpacking everything for one item |
| 4. Essentials within reach | Lid, hip and side pockets | Skipped snacks, water and sun protection |
| 5. Reset every time | Repack and restock after use | Missing or spoiled kit on the next trip |
Tip 1: give every item a fixed home
Decide once where each thing lives and keep it there on every trip. After a few hikes you will reach for it without thinking.
- Headlamp: lid pocket.
- First-aid kit: top of the main compartment or an inner pocket, in a bright bag.
- Map and phone: hip-belt or lid pocket.
- Rain jacket: top of the main compartment or the front stretch pocket.
- Keys and wallet: an inner zip pocket with a clip.
Tell your hiking partners where the first-aid kit and car keys are. In an emergency, someone else may need to find them.
Tip 2: group small items in colour-coded bags
The American Hiking Society points out that internal-frame packs have one large compartment and a few small pockets, so finding a specific item quickly can be difficult. Bags by category fix that.
| Bag | Contents | Suggested colour |
|---|---|---|
| First aid | Plasters, tape, blister care, medication | Red |
| Kitchen | Stove, lighter, spoon, pot grip | Orange |
| Food | The day’s meals and snacks | Yellow or clear |
| Clothes | Dry layers, spare socks | Blue, waterproof |
| Electronics | Power bank, cables, spare batteries | Black or grey, waterproof |
| Toiletries | Toothbrush, soap, trowel, paper | Green |
The colours are only a suggestion; what matters is that each category has its own. Use three to six bags. Clear zip bags are cheap and let you see inside. A waterproof liner for the whole main compartment does more against rain than a bag for every item.
Tip 3: pack by when you will need each item
- Bottom: sleeping bag, sleep clothes, anything for camp only.
- Middle, close to your back: heavy things such as food and water.
- Top: jacket, rain shell, lunch, first-aid kit.
- Outside pockets: things you use while walking.
This order also puts the weight in the right place. The full method is in how to pack a hiking backpack.
Think through the day before you close the pack. Will it rain by noon? Put the shell on top. Stopping to swim? Towel near the top. Arriving after dark? Headlamp and tent first out.
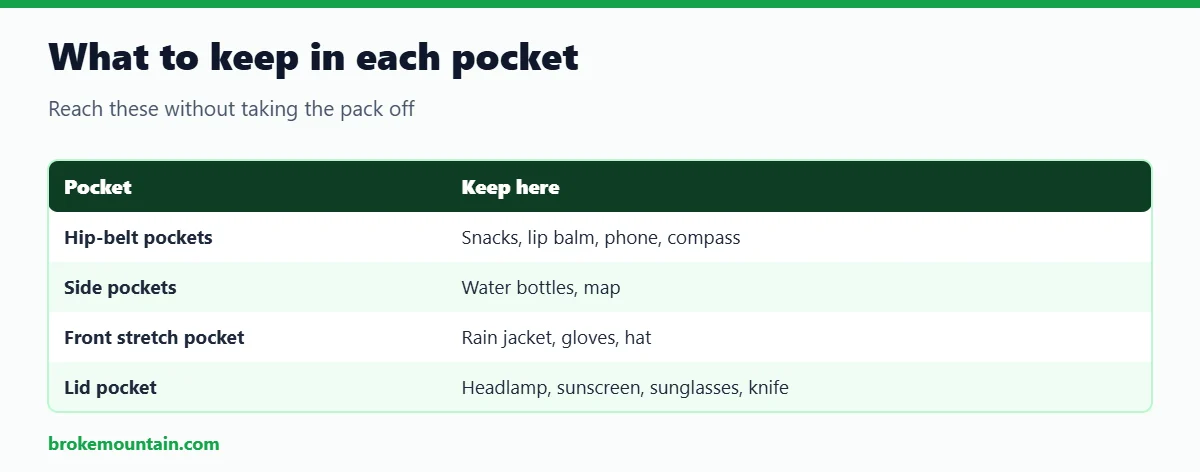
Tip 4: keep essentials where you can reach them
If you have to take the pack off to get something, you will put off getting it. That is how hikers end up dehydrated, sunburnt or hungry with supplies on their back.
| Keep here | |
|---|---|
| Hip-belt pockets | Snacks, lip balm, phone, compass |
| Side pockets | Water bottles, map |
| Shoulder-strap pocket | Phone or soft flask |
| Front stretch pocket | Rain jacket, wet items, gloves, hat |
| Lid pocket | Headlamp, sunscreen, sunglasses, knife, water treatment |
The National Park Service’s Ten Essentials are a good test: you should be able to put your hand on navigation, sun protection, a light and first-aid supplies without emptying the pack. A hydration reservoir helps if you forget to drink; see hydration bladders.
Tip 5: reset the pack every time
Organization is a habit, not a one-off job.
At each break or camp
- Put things back where they came from, straight away.
- Collect rubbish in one bag.
- Move tomorrow’s snacks to the hip pockets before bed.
- Keep the headlamp in the same spot in the tent each night.
After every hike
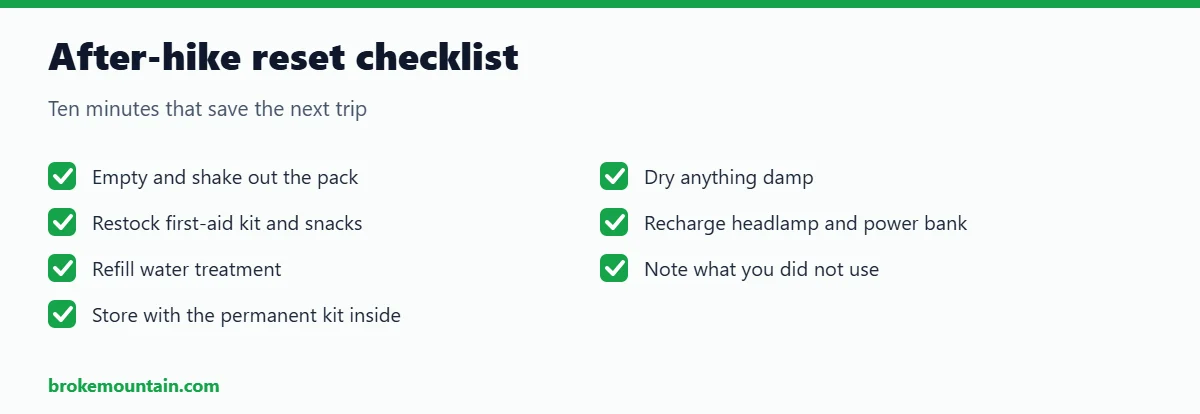
- Empty the pack completely and shake it out.
- Dry anything damp, including the pack and any reservoir.
- Restock the first-aid kit, snacks, batteries and water treatment.
- Recharge the headlamp and power bank.
- Note anything you did not use or wished you had.
- Store the pack with its permanent kit already inside.
A pack that is always half-ready makes it easy to head out at short notice, and the notes help you cut weight; see how to lighten your hiking pack.
A ready-to-go kit that stays in the pack
- First-aid kit and blister care
- Headlamp and spare batteries
- Emergency blanket and whistle
- Lighter or matches in a waterproof bag
- Small knife or multi-tool, and repair tape
- Sunscreen and lip balm
- Water treatment tablets
- A spare snack with a long shelf life
Check dates on medication, sunscreen and food twice a year. For a full list, see what to bring hiking or REI’s day hiking checklist.
Keeping your hiking pack organized with a group or family
- Agree who carries shared items: first-aid kit, map, water filter, stove.
- Give children their own small pack with a snack, water, a layer and a whistle, each in a fixed place.
- Keep one “group bag” for things everyone needs at stops, such as sunscreen and hand sanitiser, at the top of one pack.
- Make sure at least two people know where the car keys and first-aid kit are.
Mistakes that undo an organized pack
- Too many stuff sacks. Lots of small hard bundles leave gaps and waste space.
- Moving things to a new place on each trip.
- Hanging gear from the outside, where it swings, snags and gets lost.
- Putting the rain jacket at the bottom on a fine morning.
- Storing fuel or leaky bottles above food and clothes.
- Skipping the reset because you are tired.
Choosing a pack that is easy to organize
Hip-belt pockets, reachable side pockets, a front stretch pocket and a lid pocket make all five tips easier. Panel-loading packs give the easiest access to the main compartment. Our guide to types of hiking packs compares the options, and our daypacks under $100 list notes pocket layouts.
Frequently asked questions
How do I organize a hiking backpack?
Give every item a fixed place, group small things in a few bags, pack camp gear low and day gear high, and keep essentials in outer pockets.
Are stuff sacks or packing cubes worth it?
A few are. Three to six bags by category is enough. More than that wastes space.
Where should I keep my first-aid kit?
Near the top of the pack or in an inner pocket, in a bright bag, in the same place every time.
How do I stop small items getting lost in my pack?
Keep them in one small zip bag in the lid or a hip pocket, never loose in the main compartment.
How do I keep my pack organized on a multi-day trip?
Reset it each evening and morning: everything back in its place, rubbish in one bag, the next day’s food where you can reach it.
Last checked: November 2026.

Hi, I am Emam Hasan — founder and editor of BrokeMountain. I oversee this blog’s hiking, camping and outdoor gear guides, making sure every article is well-researched, accurate and genuinely helpful for your time on the trail. Enjoy it!