Quick answer: hiking stick medallions are small, curved metal badges that you nail to a wooden walking stick. Most come with two to four tiny brass or steel nails. Hold the medallion against the stick, mark the holes, pre-drill small pilot holes, then tap the nails in gently. For aluminium or carbon trekking poles, which cannot be nailed, use a strong outdoor adhesive or a medallion strap instead.
How we put this together: this guide is based on instructions published by medallion makers and sellers, plus tips shared by long-time staff users in Scouting forums. We haven’t tested every method on every type of wood, so try your first one on a spare stick if you can.
What are hiking stick medallions?
A hiking stick medallion, also called a staff shield, walking stick badge or by the German name Stocknagel, is a badge that marks a place you have walked. According to The Monterey Company, they are usually made of metal such as brass or pewter and serve a sentimental purpose, commemorating moments or destinations. The tradition is long established in the Alps and has become popular in North America, where national parks, long-distance trails and Scout shops sell them as souvenirs.
Most medallions are about 1.5 to 2 inches across and are stamped with a slight curve so they sit against a round stick. The Superior Hiking Trail Association, for example, sells curved metal medallions that come with tiny nails for attaching to a walking stick.
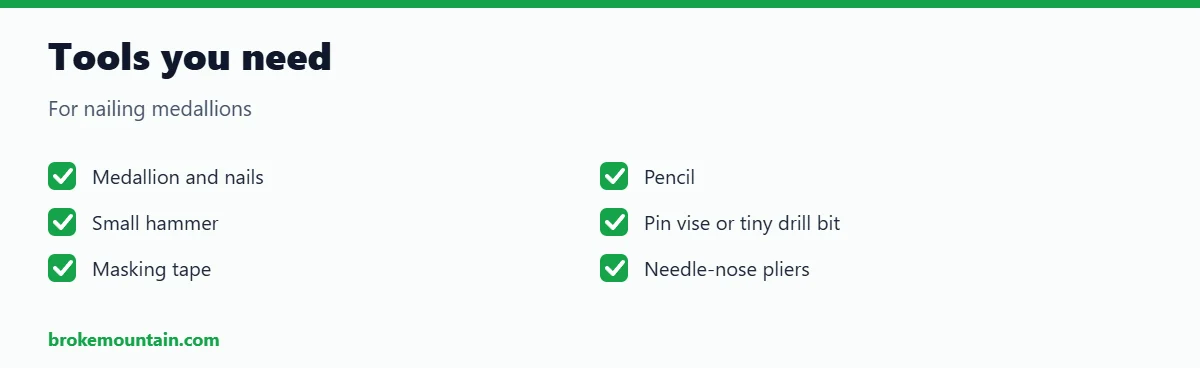
What you need
- The medallion and its nails (usually included)
- A pencil or fine marker
- A small hammer; a tack hammer or jeweller’s hammer is ideal
- A pin vise or small drill with a bit slightly thinner than the nails
- Masking tape
- Needle-nose pliers, to hold tiny nails
- Optional: a dab of epoxy or construction adhesive, and a soft cloth
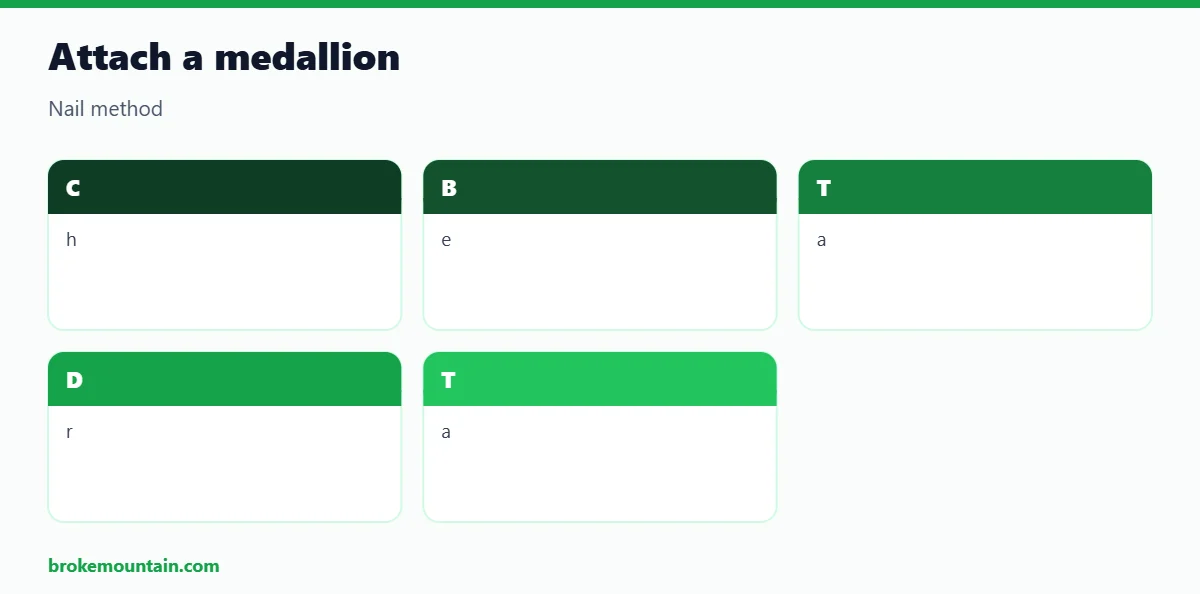
How to attach hiking stick medallions with nails
Nailing is the traditional method and the one most makers intend.
- Choose the spot. Pick a smooth, straight section below the grip, where your hand will not rub the badge. If you plan to collect several, start near the top and work down in a line or spiral, leaving a finger-width between them.
- Shape the medallion. Hold it against the stick. If it rocks, bend it gently with your thumbs until the curve matches. The metal is soft, so go slowly and avoid creasing it.
- Tape and mark. Tape the medallion in place and mark each nail hole with the pencil.
- Drill pilot holes. Remove the medallion and drill a shallow hole at each mark, a little narrower and shorter than the nail. This stops the wood splitting and the nail bending.
- Tap in the nails. Put the medallion back, hold a nail with pliers and tap it in with light strokes. Do the top nail first, check the badge is straight, then do the others.
- Finish. Stop when the nail head is snug against the metal. Hitting harder will dent the medallion. Wipe off any marks.
One seller, Zentral, notes that its medallions may be gently shaped to fit staffs and paddles, and recommends pre-drilling holes for the included nails.
Tips for hardwood sticks
Soft brass nails go into pine or cedar easily but can bend in hickory, oak or ash. Always pre-drill hardwood, and consider swapping the brass nails for small steel escutcheon pins of the same size. Some Scouters use both nails and a little adhesive behind the badge for extra security.
How to attach medallions with adhesive
Glue is the answer when you cannot or do not want to make holes, for example on a thin stick, a finished antique cane or a metal pole.
- Lightly sand the spot on a varnished stick so the glue can grip, and wipe it clean.
- Clean the back of the medallion with rubbing alcohol.
- Bend the medallion to match the curve, so the whole back touches.
- Apply a thin layer of two-part epoxy or construction adhesive to the back.
- Press it on and bind it tightly with masking tape or a wrap of cord over wax paper.
- Leave it for the full cure time on the packet, usually 24 hours, before you use the stick.
Glue alone can fail when wood swells and shrinks with moisture, so on wooden sticks nails, or nails plus glue, last longer.
What about trekking poles?
Never drill or nail aluminium or carbon trekking poles; a hole weakens the shaft and can make it fail under load. Your options are:
- Adhesive: epoxy on a clean upper section, away from the locking mechanisms.
- A strap or leather sleeve: nail or rivet medallions to a strip of leather and lace it around the pole.
- A display stick: keep your medallions on a wooden staff at home and hike with your poles. See our budget trekking pole guide if you are choosing a pair.
Nails vs adhesive vs strap
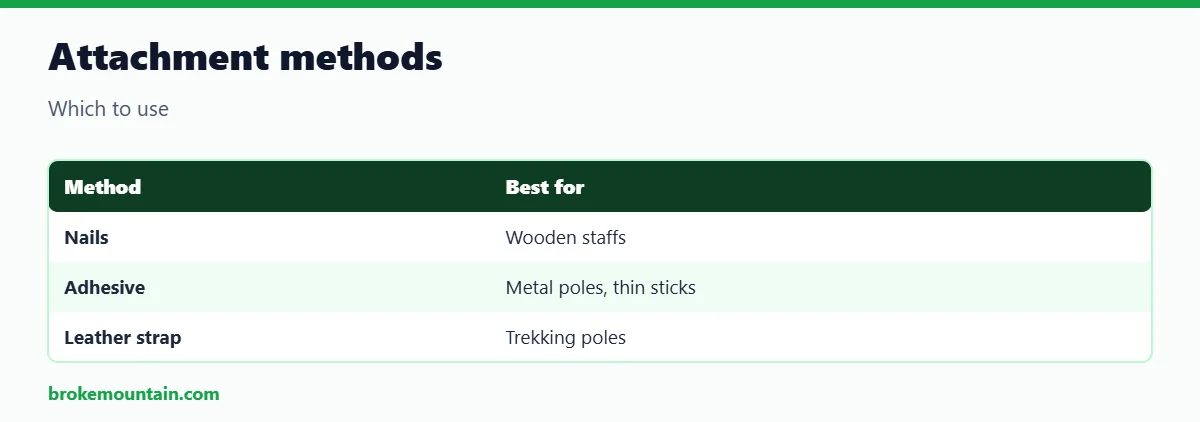
| Method | Best for | Pros | Cons |
|---|---|---|---|
| Nails | Wooden staffs | Traditional, secure, removable | Small holes; can split thin sticks |
| Adhesive | Metal poles, thin or antique sticks | No holes | Can fail in wet or heat; hard to remove cleanly |
| Leather strap | Trekking poles, swapping between sticks | No damage, movable | Can slip; more work to make |
Choosing a stick for medallions
A wooden staff about 1 to 1.25 inches thick gives a good curve for standard medallions. Straight-grained hardwoods such as hickory, ash and hazel are strong, while softer woods are easier to nail. Seal bare wood with oil or varnish before you add badges so moisture does not creep under them. If you are new to staffs, read what hiking sticks are for.
Where to find hiking medallions
- National and state park visitor centres and gift shops.
- Trail associations and conservation charities, where sales often support the trail.
- Scout shops, which sell rank, event and training shields. The Scout Shop lists Wood Badge staff medallions measuring 1 1/2 by 1 1/4 inches that come with three small steel nails.
- Mountain huts and villages in the Alps, where the tradition began.
- Online sellers; you can also order custom designs for clubs and families.
Scouts working on the Hiking merit badge often add a medallion for each long hike.
Caring for your medallions
- Wipe them with a soft, damp cloth after muddy hikes and dry them.
- Avoid abrasive polish on painted or enamelled badges.
- Check the nails once a season and tap in any that have worked loose.
- Re-oil the wood around the badges once a year.
- Store the stick indoors, away from damp and direct sun.
Frequently asked questions
Can I attach medallions to any hiking stick?
You can nail them to almost any wooden stick. Metal and carbon poles need adhesive or a strap instead.
Do I need to pre-drill?
It is strongly recommended, especially in hardwood. Pilot holes prevent split wood and bent nails.
Can I remove a medallion and move it to another stick?
Yes, if it was nailed. Slide a thin blade under the edge and lever the nails out gently, then use fresh nails on the new stick. Glued medallions are harder to remove without damage.
How long should glue dry before I hike?
Follow the packet. Most epoxies set in minutes to hours but need about 24 hours to reach full strength.
What if a medallion starts to lift?
Tap loose nails back in, or replace them with slightly longer ones. If it was glued, clean off the old adhesive and re-bond it.
Keep reading

Hi, I am Emam Hasan — founder and editor of BrokeMountain. I oversee this blog’s hiking, camping and outdoor gear guides, making sure every article is well-researched, accurate and genuinely helpful for your time on the trail. Enjoy it!