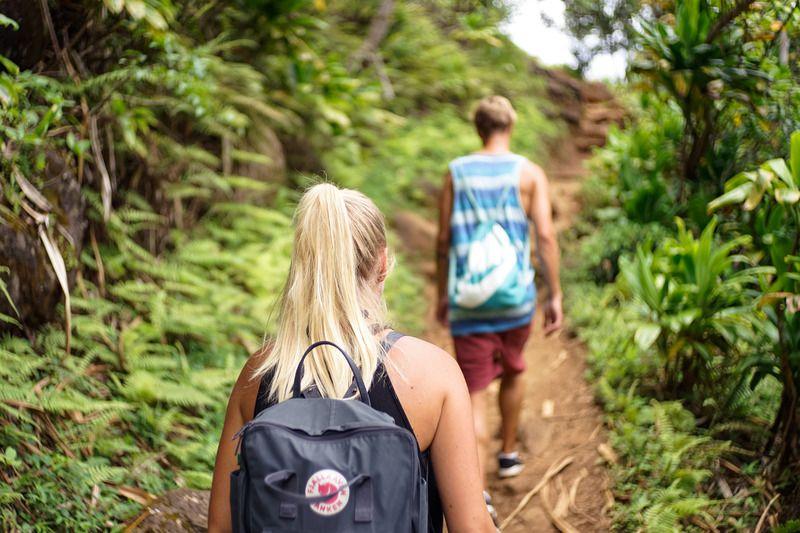
Standing at a trailhead while dark clouds gather and rain begins to fall brings a familiar question to mind: can you wear hiking boots in the rain?
The short answer is yes. Hiking boots made for wet conditions can handle rain, muddy trails, and damp grass, but they come with practical limits that every hiker should understand.
Water can still find its way inside through the top collar, around the laces, or from sweat building up inside the boot. Knowing how wet-weather boots work, what they cannot do, and how to care for them will help you stay more comfortable on rainy hikes.

Why Waterproof Boots Help on Wet Trails
Hiking in rainy weather brings several challenges, from saturated ground to slick rocks and mud. Waterproof hiking boots help by creating a protective barrier between your feet and the elements.
The main advantage is that they repel external moisture. When you walk through light rain, puddle-strewn paths, or wet vegetation, the upper helps keep water from soaking through.
Keeping feet drier is not only about comfort. Prolonged dampness softens skin, which can make feet more vulnerable to friction, hot spots, and blisters.
Boots made for wet conditions also tend to offer useful traction and support. Deep tread can bite into soft ground, and a sturdy structure can help you keep your balance on soft, shifting terrain.
Key Features to Look For in Wet-Weather Hiking Boots
Choosing the right boots for rainy conditions means balancing water resistance, breathability, grip, and fit. No single feature matters more than how the whole boot works together on wet ground.
Waterproof Construction and Sealed Seams
The outer shell of a wet-weather boot is usually made from treated leather, heavy-duty synthetic fabric, or reinforced mesh. To stop water from seeping through stitching, manufacturers seal interior seams with waterproof tape or sealant.
Also look for a gusseted tongue, where the tongue joins the upper along its sides. This helps stop water and mud from entering through the lace area.
Breathable Membranes
Many waterproof boots have an internal membrane between the outer shell and the inner lining. Its tiny pores are meant to block liquid water while letting water vapor from sweat escape.
This system reduces moisture coming in, but it is a breathable barrier rather than an airtight seal. In warm, humid rain or on steep climbs, sweat can still build up inside.
Traction for Slippery Surfaces
Outsoles decide how well a boot grips wet terrain. For muddy paths, deep, widely spaced lugs help mud shed as you walk rather than clumping under your foot.
For wet, smooth rock, the rubber compound matters too, since a softer, grippier rubber can conform slightly to the surface. Even so, no tread can guarantee grip on wet rock, mud, or loose slopes.
Fit and Ankle Support
Proper fit matters for comfort and stability in wet weather. A secure heel hold limits heel movement, which can reduce rubbing on long, wet climbs.
The toe box should leave room for your toes to move without sliding forward on steep descents. A higher ankle collar can feel more supportive on slick, uneven ground, although ankle height alone does not prevent injuries.
Try boots on later in the day while wearing your hiking socks. That gives a more realistic sense of fit than trying them on with thin socks in the morning.
The Realistic Limits of Waterproofing
Waterproof hiking boots offer real protection, but it helps to keep expectations realistic. No boot keeps feet completely dry in every situation.
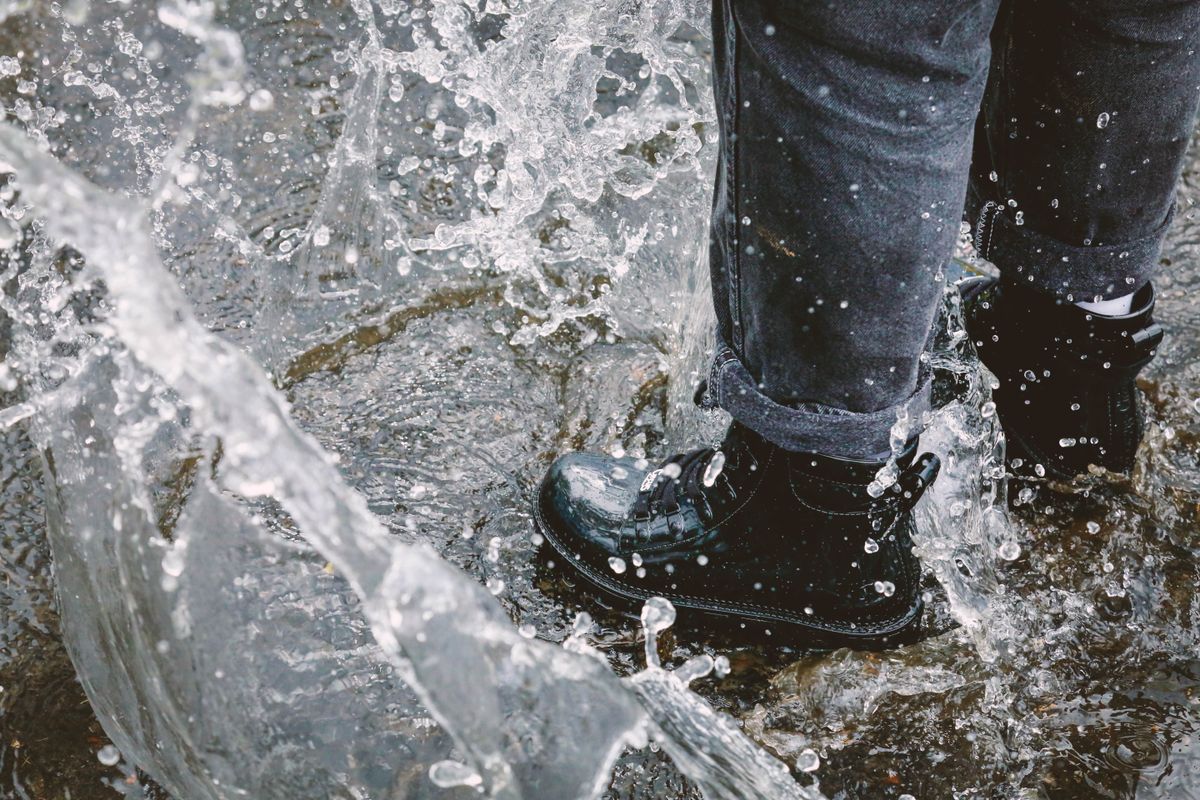
Water can easily enter from above. Heavy rain running down unshielded legs, splashing into deep puddles, or stepping into water above the ankle collar can flood the inside quickly.
Once water gets in, the same membrane that keeps rain out can trap it inside, making the boot heavy and slow to dry on the trail. Boots also take in moisture from the inside, since sweat can build up faster than the membrane can vent it.
Hiking boots are also not designed for wading through deep streams or standing water. Submerging boots past their upper openings defeats their protective design, so plan routes that avoid swollen crossings in heavy rain.
Comparing Waterproof and Non-Waterproof Boots for Wet Hiking
Choosing between waterproof and non-waterproof boots depends on climate, temperature, and trail conditions. The table below shows the main trade-offs in general terms.
| Feature | Waterproof Hiking Boots | Non-Waterproof Hiking Boots |
|---|---|---|
| Primary water resistance | High; repels light rain, mud, dew, and shallow puddles | Low; outer fabrics absorb water quickly |
| Airflow and breathability | Moderate to low; restricted by the internal membrane | High; open mesh and fabrics allow more airflow |
| Drying speed after soaking | Slow; trapped moisture takes time to evaporate | Fast; lightweight fabrics drain and air-dry more quickly |
| Best climate and season | Cool to cold climates, persistent rain, muddy trails | Hot, humid environments or warm, sunny days |
| Sweat management | May feel warm; sweat can build up during high effort | Better ventilation; keeps feet cooler during intense hikes |

How to Clean and Dry Boots After Wet Hikes
Good care after a rainy hike helps preserve water resistance and stops materials from breaking down early. Leaving muddy, soaked boots in a closet is one of the fastest ways to shorten their useful life.
Step-by-Step Cleaning
- Remove loose dirt: Let heavy mud dry slightly, then use a soft-bristled brush or damp cloth to wipe away surface dirt, mud, and trail debris, paying attention to seams and lace hardware.
- Clean the outsoles: Brush outsoles firmly to remove caked mud and trapped pebbles. Clean tread grips better and carries less mud between trails.
- Wash with mild cleaner: If boots are heavily soiled, wash them with lukewarm water and a specialized footwear cleaner or mild soap. Avoid household detergents, bleach, and harsh bar soaps, which can damage leather finishes and waterproof membranes.
- Rinse thoroughly: Rinse the uppers with clean water to remove all soap residue, then avoid putting hiking boots in a washing machine.
Safe Drying Techniques
- Unlace and open: Remove laces and insoles so air can circulate fully inside the boot.
- Stuff with paper: Loosely stuff each boot with crumpled newspaper or paper towels. The paper absorbs moisture and helps the boot hold its shape.
- Replace paper regularly: Swap out damp newspaper every few hours until the interior feels dry to the touch.
- Air dry naturally: Place boots in a warm, dry room with good air circulation. A small fan aimed at the boots can speed drying safely.
Hazards of Direct Heat
Never dry hiking boots near direct heat such as campfires, radiators, wood stoves, heating vents, or hairdryers. Direct heat can weaken adhesives, shrink or crack leather, and damage heat-sensitive waterproof membranes.
Selecting and Applying Waterproofing Treatments
Over time, the factory water-repellent coating on a boot wears off through abrasion, dirt, and washing. When that coating fades, the outer fabric soaks up water, a condition known as wetting out.
A wetted-out upper makes the boot heavier and reduces breathability, even if the internal membrane still blocks liquid. Reapplying a suitable water-repellent treatment can restore how the outer fabric behaves.
Types of Waterproofing Treatments
- Spray-on treatments: Aerosol or pump sprays are versatile and easy to apply. They work well on synthetic fabrics, suede, nubuck, and combination uppers without changing texture much.
- Wax-based treatments: Traditional paste or solid waxes are mainly for full-grain leather boots. Wax creates a durable barrier and conditions leather, though it can change appearance and reduce breathability on membrane-lined boots.
- Liquid treatments: Sponge-on or paint-on liquids suit damp fabric or leather. They soak easily into upper materials and seams.
General Application Steps
- Prepare the boots: Clean boots thoroughly to remove dirt and surface oils. Most spray and liquid treatments work best on clean, damp footwear.
- Apply evenly: Apply an even coat across the entire upper, paying close attention to seams, flex points, and stitching.
- Wipe excess: Let the treatment soak in for a few minutes, then wipe away any excess with a clean cloth.
- Allow cure time: Let boots dry completely at room temperature, following the manufacturer’s instructions, before using them on the trail. Reapply when water stops beading on the surface.
Inspecting Boots, Minor Repairs, and When to Replace
Regular inspection helps your boots stay reliable in wet weather. Catching small problems early can extend their life and prevent failures on the trail.
What to Inspect
- Outsoles: Check for worn, flattened tread or areas where the rubber outsole is separating from the midsole.
- Uppers: Look for cracks in leather, tears in fabric, or punctures near the toe box and flex points.
- Stitching: Inspect seams around lace loops and overlays for fraying or unraveling threads.
- Interior: Check for persistent dampness or odor, which may point to mold growth or a failed lining.
Performing Minor Repairs
Minor damage can often be fixed at home. Loose soles or separating edges can be re-secured with specialized footwear repair adhesive, and small tears can be patched with strong repair tape or flexible patches.
Replace damaged or frayed laces promptly so the boot can still be laced snugly. If a repair does not hold, or the damage affects the boot’s structure, it is time to look for a replacement.
Knowing When to Replace
- The outsole tread is worn smooth, so traction on wet surfaces is much reduced.
- Severe cracking or large tears in the upper let water flow freely into the boot.
- The internal structure or midsole cushioning has collapsed, leading to foot fatigue and instability.
- Leaks persist despite fresh waterproofing treatments.
Socks and Moisture Management
Footwear is only one half of wet-weather comfort. The right socks manage interior moisture, reduce friction, and help keep feet warm even when conditions are damp.
Avoid Cotton
Cotton is a poor choice for wet hiking. Its fibers absorb moisture, hold water against the skin, and lose much of their insulating value when wet.
Damp cotton also lets skin soften and wrinkle, which can increase the chance of friction blisters. For rainy hikes, choose a different sock material instead.
Choose Synthetic or Merino Wool Fibers
Socks made from merino wool or synthetic materials such as polyester and nylon are better suited to wet conditions. Merino wool wicks moisture and retains warmth even when damp, while synthetic blends dry quickly and tend to be durable.
The Two-Sock Liner System
A two-sock system is a common approach for blister prevention in wet weather. Wear a thin, synthetic liner sock against the skin under a thicker wool or synthetic hiking sock.
The liner wicks sweat away from the skin, and friction from boot movement then happens more between the two sock layers than against your foot. As with any system, test it on shorter hikes before relying on it for a long, wet day.
Pack Spare Pairs
Pack extra pairs of dry synthetic or wool socks in a waterproof dry bag inside your pack. Changing into fresh, dry socks mid-hike restores warmth, lowers skin moisture, and can noticeably improve comfort on long rainy outings.
Gaiters: Protecting the Boot Opening
Even the best waterproof boots cannot stop rain, mud, or debris from entering over the ankle collar. Gaiters bridge the gap between your pants and boots.
Types of Gaiters
- Low or ankle gaiters: These cover the ankle and top of the boot. They are lightweight and breathable, and they suit keeping grit, small pebbles, and light rain out of low-cut footwear.
- Mid-calf to knee-high gaiters: Higher gaiters extend up the calf to just below the knee. Made from durable, water-resistant or waterproof fabrics, they offer stronger protection against heavy rain, deep mud, and wet brush.
Proper Usage and Layering
To wear gaiters correctly, attach the front lace hook to your boot laces, secure the underfoot strap beneath the arch, and cinch the top closure around your calf. Check that they fit snugly without restricting movement.
In heavy, sustained rain, wear gaiters under your rain pants rather than over them. Rain running down your pants then slides off the outside of the gaiter instead of channeling water inside your boots.
Adjusting Routes and Trail Safety in Rainy Conditions
Hiking in the rain calls for adjustments to route planning and trail safety. Slippery conditions demand extra caution and deliberate movement.
Route Selection
- Plan shorter distances: Rainy hikes can be more physically demanding, so scale back distance expectations.
- Choose well-drained trails: Stick to established, well-maintained trails with good drainage, and avoid low-lying paths prone to pooling or flooding.
- Avoid steep inclines and slick rock: Steer clear of steep rock scrambles, exposed ledges, or slick mud slopes where traction is uncertain.
- Skip river crossings: Avoid swollen streams or rivers during heavy rain, since water levels and currents can rise rapidly.
Trail Safety Practices
- Use trekking poles: Trekking poles add two extra points of contact, which can help with balance on slick mud, wet leaves, and uneven surfaces.
- Step deliberately: Plant your feet flat on stable surfaces, and avoid wet sloping logs and moss-covered rocks where possible.
- Stay visible: Wear brightly colored outer layers so other trail users can see you in low-visibility rain.
- Pack emergency essentials: Carry a map, compass, first-aid kit, headlamp, whistle, and emergency warmth layers packed in dry bags.
Short Rainy-Hike Checklist
Before heading out into the rain, run through this quick checklist:
Pre-hike gear prep
- Inspect boot outsoles for adequate tread depth.
- Test the outer fabric for water beading; reapply waterproofing treatment if needed.
- Pack synthetic or merino wool hiking socks, plus extra dry pairs in a dry bag.
- Pack moisture-wicking liner socks and waterproof low or knee-high gaiters.
Clothing and pack safety
- Wear a waterproof jacket and waterproof rain pants.
- Line the backpack interior with a dry bag or attach a rain cover.
- Bring trekking poles for added stability on slick paths.
- Pack emergency gear, including a first-aid kit, whistle, headlamp, and extra food.
Post-hike maintenance
- Brush off loose mud and clean boot uppers with mild soap and water.
- Remove insoles and laces to open boots fully.
- Stuff the interior with crumpled newspaper to absorb moisture.
- Air-dry boots at room temperature, away from direct heat sources.
Key Takeaways
- Hiking boots work well in the rain, but waterproofing has real physical limits.
- Water can enter over the ankle collar, through lace eyelets, or build up inside from sweat.
- Fit and traction matter: a secure heel fit limits rubbing, while widely spaced lugs shed mud.
- Skip cotton socks; wear synthetic or merino wool socks, and consider a two-sock liner system.
- Use gaiters to block mud, wet brush, and rain from entering the top of your boots, and wear rain pants over them in heavy rain.
- Dry boots safely: remove insoles, stuff boots with newspaper, and air-dry at room temperature, never near direct heat.
Conclusion
Wearing hiking boots in the rain is a practical way to enjoy the outdoors year-round, provided you understand what they can and cannot do. Choose boots with solid construction and suitable traction, pair them with moisture-wicking socks and gaiters, and adjust your route choices for safety.
After your hike, cleaning and gentle air-drying will help your boots stay ready for many more rainy miles. As a natural next step, inspect your current boots today.
Run a few drops of water over the upper material. If water beads up and rolls off, your boots are ready for the trail; if the fabric absorbs the water, clean them and reapply a fresh waterproofing treatment before your next damp hike.

Hi, I am Emam Hasan — founder and editor of BrokeMountain. I oversee this blog’s hiking, camping and outdoor gear guides, making sure every article is well-researched, accurate and genuinely helpful for your time on the trail. Enjoy it!