
Quick answer: most trail riders on 2.3–2.5-inch tubeless tyres end up somewhere around 18–28 psi, with the rear tyre 2–3 psi higher than the front. A common starting point is your weight in pounds (with riding gear) divided by 7 for the front tyre, plus 2–3 psi for the rear. Riders using inner tubes usually need about 3–5 psi more to avoid pinch flats. From there, adjust 1–2 psi at a time until the bike grips well without the tyre squirming or the rim hitting rocks.
Tyre pressure is the cheapest upgrade in mountain biking. The right pressure gives you more grip, more comfort, fewer flats and, on rough ground, often more speed. The wrong pressure can make a good bike feel nervous, slow or prone to punctures. This guide explains how to find the right number for you.
Why tyre pressure matters so much
Off-road, a tyre isn’t just holding air. It’s part of your suspension and your grip. At lower pressure, the tyre flattens slightly over roots and rocks, so more tread stays in contact with the ground. That improves cornering and braking grip and smooths out small bumps. On rough trails it can even roll faster, because it takes less energy for the tyre to deform around an obstacle than to lift the bike and rider over it.
Too low, though, and problems appear. The tyre folds over in corners, the rim strikes rocks, and with inner tubes you risk pinch flats (two small “snakebite” holes where the tube is trapped against the rim). Too high, and the bike skips over the ground, loses grip and feels harsh. The goal is the lowest pressure that still supports you properly.
A starting point by rider weight
These figures are rough starting points for tubeless 2.3–2.5-inch trail tyres on modern rims, including the weight of your riding gear. They’re based on the common “weight ÷ 7” rule of thumb; your ideal pressure may be a few psi either side.
| Rider weight with gear | Front (tubeless) | Rear (tubeless) | With inner tubes |
|---|---|---|---|
| 55 kg (120 lb) | about 17 psi | about 19–20 psi | add 3–5 psi |
| 68 kg (150 lb) | about 21 psi | about 23–24 psi | add 3–5 psi |
| 80 kg (175 lb) | about 25 psi | about 27–28 psi | add 3–5 psi |
| 91 kg (200 lb) | about 28–29 psi | about 30–32 psi | add 3–5 psi |
| 102 kg (225 lb) | about 32 psi | about 34–35 psi | add 3–5 psi |
Retailer evo’s tyre pressure guide makes the same basic point: there’s no single right answer, most riders do better below the maximum printed on the tyre, and you should adjust for your own riding style and terrain.
What changes the right pressure
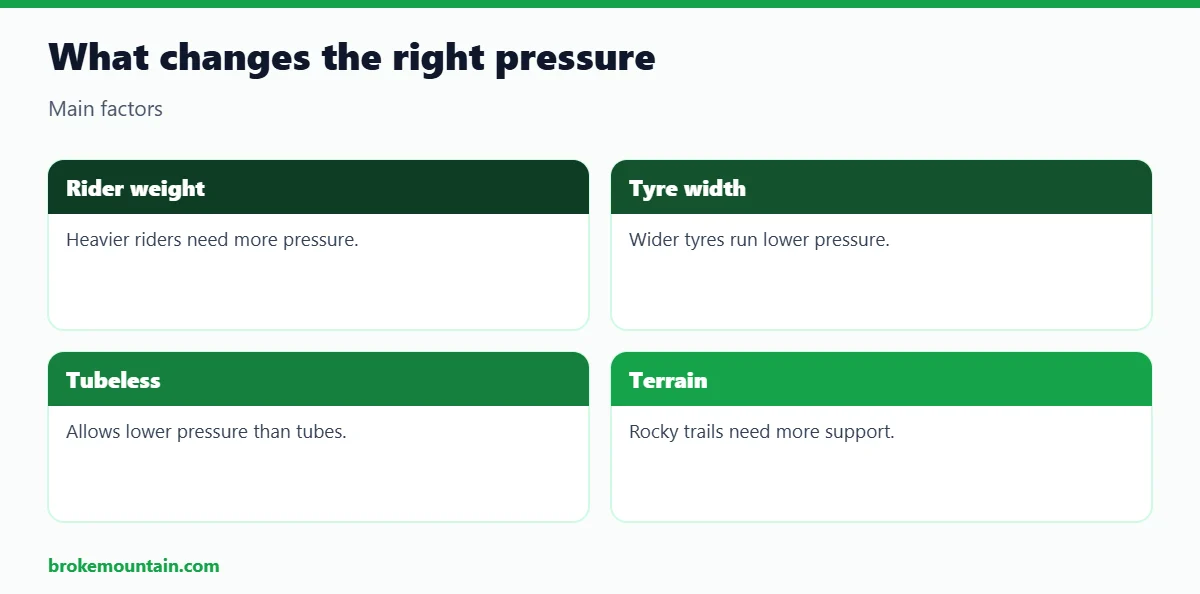
- Rider weight: the biggest factor. Heavier riders need more pressure to stop the tyre squirming and the rim bottoming out.
- Tyre width: wider tyres hold more air, so they can run lower pressure for the same support. A 2.6-inch tyre usually runs a few psi less than a 2.3-inch tyre.
- Rim width: wider rims support the tyre’s sidewalls better, allowing slightly lower pressure.
- Tyre casing: thick, reinforced enduro and downhill casings support themselves better and resist rim strikes, so they can run lower pressure than light cross-country casings.
- Tubeless or tubes: tubeless tyres can run lower pressure because there’s no tube to pinch.
- Terrain: rocky, fast trails need more pressure to protect the rim; loose, wet or slow technical trails reward lower pressure for grip.
- Riding style: riders who hit jumps and corners hard need more support than riders who cruise.
Why the rear tyre needs more pressure
Your weight isn’t split evenly. Most riders put noticeably more weight on the rear wheel, especially when seated or climbing, and the rear tyre takes the hardest hits from rocks and landings. Running the rear tyre a few psi higher than the front protects the rim and stops the rear from feeling vague, while a slightly softer front tyre gives more steering grip and confidence.
Pressure by riding style
| Riding | Typical approach |
|---|---|
| Cross-country | Slightly higher pressure for efficient rolling on smoother trails and light casings |
| Trail | Moderate pressure balancing grip, comfort and rim protection |
| Enduro | Lower front pressure for grip; rear high enough to survive hard hits, often with tyre inserts |
| Downhill | Heavy casings, often with inserts, allowing lower pressure at speed |
How to fine-tune your pressure
- Use a good gauge. Pump gauges can be several psi out. A separate digital gauge gives consistent readings, which matters more than perfect accuracy.
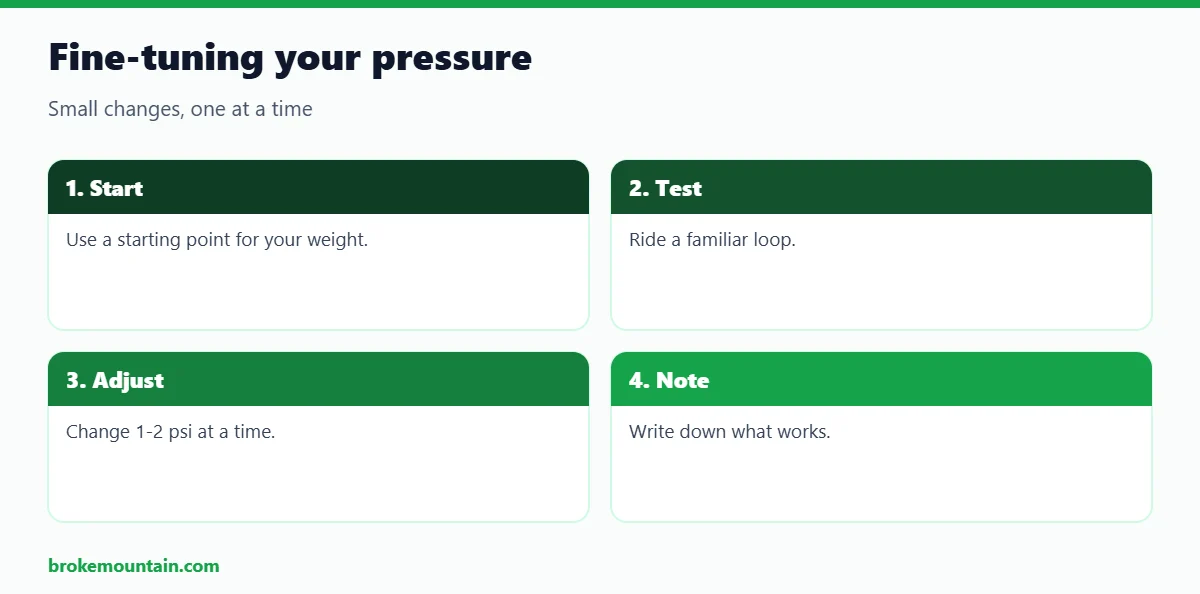
- Start from a baseline using the table above, then ride a familiar trail.
- Change one tyre at a time, by 1–2 psi, so you can feel the difference.
- Too low? The tyre folds in corners, feels vague or “squirmy”, or you hear and feel the rim hitting rocks. Add pressure.
- Too high? The bike skips across roots and rocks, loses grip under braking and feels harsh. Let some air out.
- Note your numbers for different trails and conditions so you can repeat what works.
Canyon’s guide to mountain bike tyre pressure covers the same trade-offs if you’d like a second explanation, and Competitive Cyclist’s pressure guide recommends adjusting in small steps and logging your final pressures against weight, route and weather.
Adjusting for conditions
- Wet and muddy: drop a psi or two for extra grip, especially at the front. Our guide to MTB tyres for wet conditions covers tread choice.
- Rocky and fast: add a little pressure, especially at the rear, to protect the rim.
- Cold weather: air pressure drops as temperature falls, so check your tyres outside or just before riding.
- Bikepacking or carrying a heavy pack: add a few psi to support the extra weight.
- Riding on roads: if you’re mostly on pavement, higher pressure rolls faster. See our guide to slick tyres for mountain bikes.
Tubeless vs inner tubes
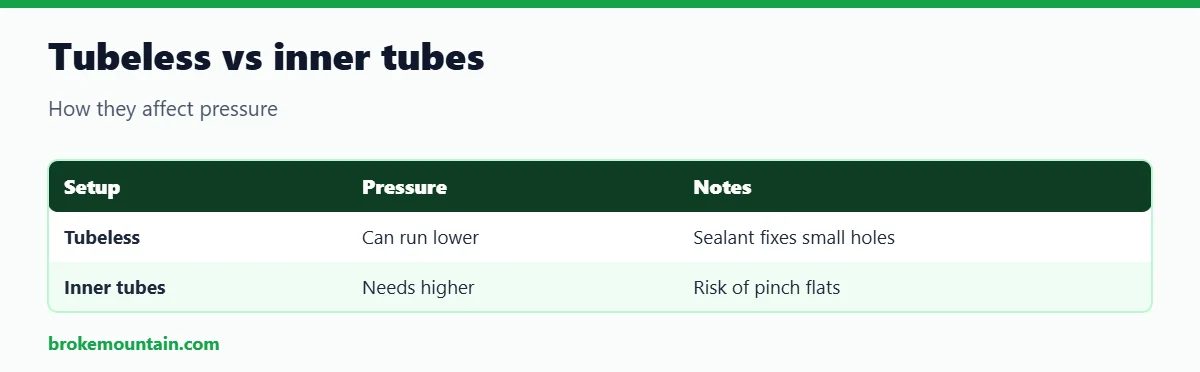
Tubeless tyres let you run lower pressures without pinch flats, and sealant inside the tyre plugs small punctures as you ride. That’s why most trail riders have switched. If you’re still running tubes, keep your pressure a little higher, and carry a spare tube and patches. Our guides to tubeless sealant and puncture repair kits explain both set-ups.
Tyre inserts
Tyre inserts are foam rings that sit inside a tubeless tyre. They protect the rim from impacts, support the sidewalls in corners and let you run a flat tyre home if needed. Enduro and downhill riders use them to run lower pressures without risking rim damage. They add weight and make fitting tyres harder, so most trail riders don’t need them.
Frequently asked questions
Should I use the pressure printed on the tyre?
No. The numbers on the sidewall are minimum and maximum limits, not recommended pressures. Most mountain bikers ride well below the maximum.
How often should I check tyre pressure?
Before every ride. Tubeless tyres in particular slowly lose air, and a few psi makes a noticeable difference.
Why do I keep getting pinch flats?
Your pressure is probably too low for your weight and terrain, especially with inner tubes. Add a few psi or consider going tubeless.
Is psi or bar better?
Either works. One bar is about 14.5 psi, so a 1-psi change is a small fraction of a bar. Many riders find psi easier for fine-tuning mountain bike tyres.
What pump should I use?
A floor pump with a gauge at home and a mini pump or CO2 inflator on the trail. Our guide to mountain bike mini pumps compares options.
Keep reading

Hi, I am Emam Hasan — founder and editor of BrokeMountain. I oversee this blog’s hiking, camping and outdoor gear guides, making sure every article is well-researched, accurate and genuinely helpful for your time on the trail. Enjoy it!


