Quick answer: basic backpacking cooking gear is a lightweight stove, fuel, one pot with a lid, a long-handled spoon, a lighter and a way to treat water. Most hikers only boil water for dehydrated meals, so a canister stove with a 0.75–1 L pot covers almost every trip. Add a mug, a small bowl and a cleaning cloth if you like.
How we put this together: this guide is based on buying advice from REI, guidance from the Leave No Trace Center for Outdoor Ethics and the TSA, and published stove specifications. We haven’t tested every item mentioned. Check local fire restrictions before every trip.
Your trail kitchen should be light, simple and reliable. Here’s exactly what backpacking cooking gear you need, how to choose it and how to use it responsibly.
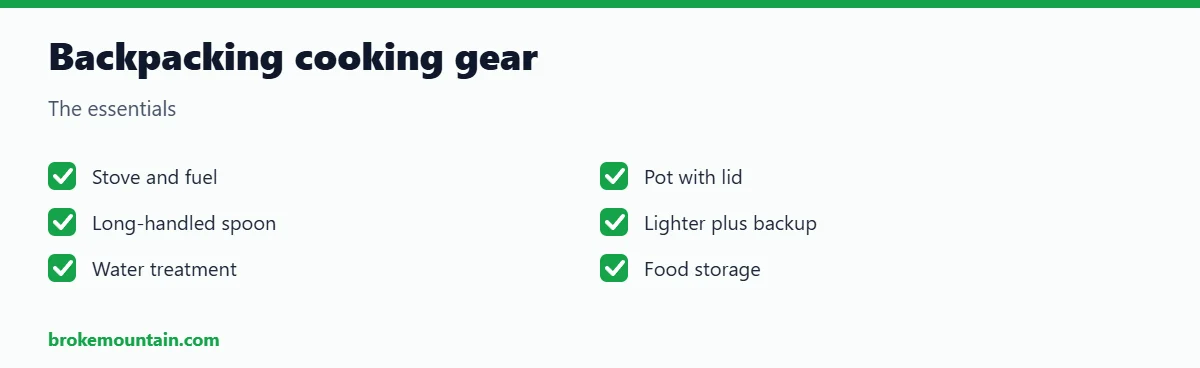
The essential backpacking cooking gear list
- Stove: canister, alcohol, wood or liquid fuel (compared below).
- Fuel for the whole trip, plus a little spare.
- Pot with lid: about 0.75–1 L for one person, 1.5–2 L for two (see our mess kit guide).
- Long-handled spoon or spork.
- Lighter plus a backup (see backpacking lighters).
- Water treatment: filter, tablets or drops.
- Food storage: bear canister or bag where required (see bear canisters and bear bags).
- Optional: insulated mug, bowl, small knife, pot gripper, windscreen and a cloth.
Choosing a backpacking stove
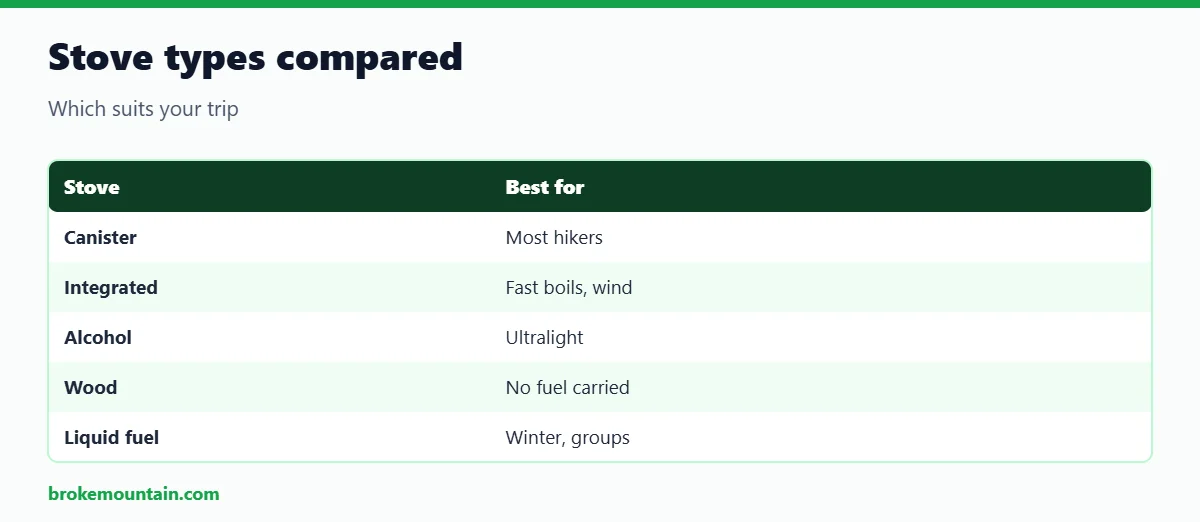
REI’s stove guide groups backpacking stoves by the fuel they burn and how that fuel is stored, and suggests comparing burn time, average boil time and weight. In practice, most hikers choose between these types:
| Stove | Best for | Watch out for |
|---|---|---|
| Canister (gas) | Most hikers: fast and easy | Weak in freezing temperatures; canister waste |
| Integrated canister system | Fast boiling, windy conditions | Heavier, can tip; mostly just boils water |
| Alcohol | Ultralight, simple | Slow; often banned in fire season |
| Wood-burning | No fuel to carry | Fire bans; sooty pots; wet wood |
| Liquid fuel | Winter, high altitude, groups | Heavier; needs priming and maintenance |
Canister stoves
A small burner that screws onto a sealed isobutane-propane canister is the default choice. These stoves weigh only a few ounces, light instantly and have adjustable flames, so you can simmer as well as boil. Their weaknesses are wind, which wastes fuel, and cold, which lowers canister pressure. Keep the canister warm in your jacket or sleeping bag before use on frosty mornings.
Integrated canister systems
These pair a burner with a matched, insulated pot and a heat exchanger. They boil water very quickly and use fuel efficiently, especially in wind, which makes them popular with hikers who live on freeze-dried meals and coffee. They are heavier and taller than a simple burner and pot, and less suited to real cooking.
Alcohol, wood and solid-fuel stoves
Alcohol stoves are light, silent and cheap, and fuel is easy to find. They are slow, hard to see burning in daylight and have no off switch, so many land managers ban them during fire restrictions. Wood stoves remove the need to carry fuel but depend on dry twigs and are covered by the same bans. Solid-fuel tablets are a simple backup.
Liquid-fuel stoves
Stoves that burn white gas from a refillable bottle work well in deep cold and at altitude, and suit groups melting snow or cooking big meals. They are heavier, need priming and occasional cleaning, and are more than most three-season hikers need. For specific models, see our guide to the best backpacking stoves.
Pots, mugs and utensils
- Titanium: the lightest and strongest option, ideal for boiling water. It heats unevenly, so food can scorch.
- Hard-anodised aluminium: a little heavier, cheaper and better at spreading heat, so it suits real cooking.
- Stainless steel: tough and inexpensive, but heavy.
Choose a pot wide enough to be stable on your stove and big enough to nest a small canister and burner inside. A lid speeds up boiling and saves fuel. A long-handled spoon reaches the bottom of meal pouches. Many solo hikers eat straight from the pot or pouch and skip the bowl entirely.
How much fuel to bring
For boil-only meals, a common rule of thumb is that a small 100 g (4 oz) canister boils roughly 10 to 12 litres of water in mild conditions, which is enough for one person for several days. Fuel use rises in cold, wind and at altitude, and with any simmering. To estimate your own needs:
- Count the boils per day (for example, two cups at breakfast and two at dinner).
- Weigh a canister before and after a weekend trip to learn your real fuel use per day.
- Carry a small reserve, and float-test or weigh part-used canisters at home so you know what is left.
- Use a lid, shelter the stove from wind and turn it off as soon as the water boils.
Never enclose a canister stove tightly in a windscreen, as the canister can overheat.
Water treatment
You need clean water for cooking and drinking. Squeeze and gravity filters are quick and popular, chemical drops or tablets are the lightest backup, and boiling works when you have fuel to spare. Whatever you use, carry a backup method, because filters can clog or freeze.
Easy trail meal ideas
- Dehydrated or freeze-dried meals (just add boiling water)
- Instant oats with nuts and dried fruit
- Couscous or instant noodles with a foil pack of tuna or chicken
- Instant mashed potato with cheese and olive oil
- Tortilla wraps with peanut butter
- Hot drinks: tea, coffee, cocoa
Read more: food for hiking.
Cooking safely in camp
- Cook on a flat, bare surface, away from dry grass and overhanging branches.
- Never cook inside a closed tent; stoves produce carbon monoxide and are a fire risk.
- Check fire restrictions before you go. In many areas only stoves with a shut-off valve are allowed in fire season.
- In bear country, cook and store food well away from where you sleep, and follow local storage rules.
- Let the stove cool before packing it, and pack out empty canisters.
Cleaning up
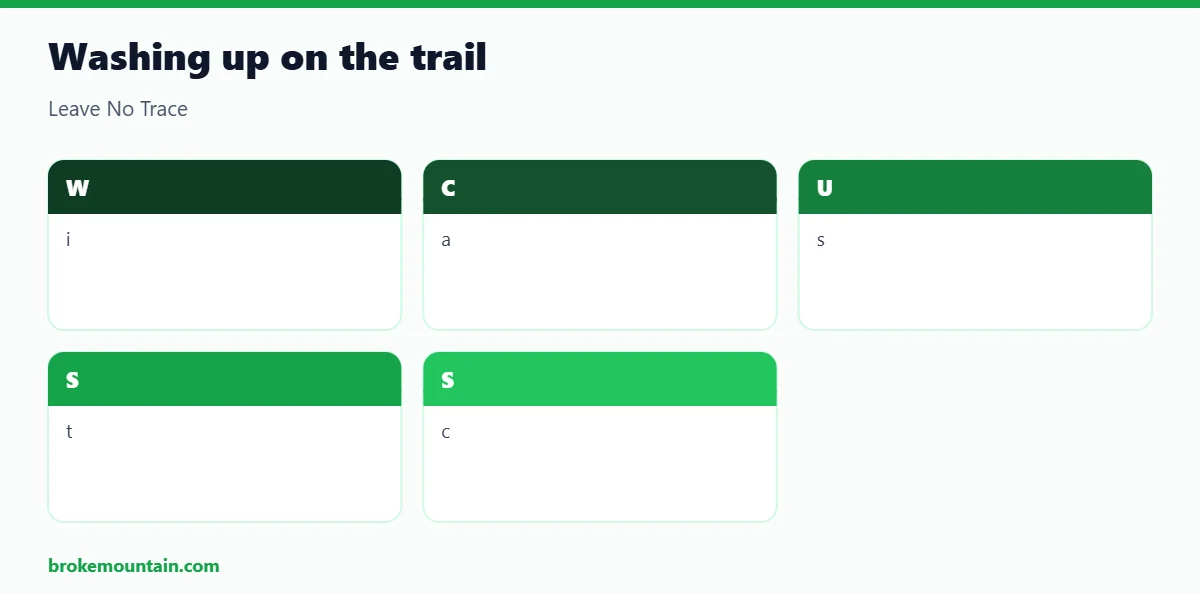
Wipe your pot right after eating, before food dries on. Leave No Trace recommends doing dishes at least 200 feet, or about 70 big steps, from any water source, straining out food scraps to pack out, and scattering the strained water. Use only a drop of biodegradable soap, or none. See washing dishes while camping for a step-by-step method.
Frequently asked questions
What is the lightest backpacking cooking setup?
A small alcohol stove or ultralight canister stove with a titanium pot, used only to boil water.
Do I need a stove for backpacking?
No. Some hikers go “stoveless” with cold-soaked meals, but hot food is a big morale boost on cold days.
Can I take a stove and gas canisters on a plane?
In the United States, the TSA allows camp stoves in carry-on or checked bags only if they are empty of all fuel and cleaned of vapours and residue. Fuel canisters are not allowed, so buy them at your destination. Rules differ in other countries, so check with your airline.
What size pot do I need?
About 0.75–1 L for one person and 1.5–2 L for two, if you mainly boil water.
Is titanium cookware worth it?
For boiling water and saving weight, yes. For frying or simmering, hard-anodised aluminium cooks more evenly and costs less.
Keep reading
- Best backpacking stoves
- Best backpacking mess kits
- Best alcohol stoves
- Best baking sheet for backpackers
Last checked: November 2026. Rules and fire restrictions change, so confirm them with official sources before you travel.
Baking on the Trail: Is There a Baking Sheet for Backpackers?What is the best baking sheet for backpackers?
There is no backpacking baking sheet as such. For light trips, a non-stick frying pan with a lid is the best baking tool; for base camps and car camping, a stovetop oven such as the Omnia lets you bake cakes and bread.
BrokeMountain is reader-supported. We may earn a commission when you buy through links on this page, at no extra cost to you.
There is no true baking sheet for backpackers: a flat sheet needs an oven, and a backpacking stove only heats from below. Instead, hikers bake with a lidded pan, a pot-in-pot steamer or a small stovetop oven. Here is how each option works and when it is worth the weight.
| Method | Extra weight | Best for | What you need |
|---|---|---|---|
| Lidded frying pan | Low (if you already carry a pan) | Bannock, flatbreads, pancakes, pizza | Non-stick pan with a lid, low flame |
| Pot-in-pot steam baking | Very low | Muffins, brownies, cornbread | Pot with lid, small silicone cups or an insert |
| Omnia stovetop oven | High | Cakes, casseroles, rolls at base camp | Omnia base, ring pan and lid |
| Foil in campfire coals | Very low | Potatoes, cobblers, packet meals | Heavy-duty foil, an allowed fire |
1. Skillet baking with a lidded pan
The lightest way to bake is to use a small non-stick frying pan with a lid. Press dough thin, cook it over the lowest flame, and flip it halfway so both sides brown. This works for bannock, tortillas, flatbread pizza and pancakes. Move the pan around the flame to spread heat, because most backpacking stoves have a small, hot burner.
Check backpacking frying pans on Amazon
2. Pot-in-pot steam baking
Put a little water in your pot, set small silicone baking cups (or a purpose-made insert) above the water, cover and simmer. The steam cooks muffins, brownies and cornbread mixes without burning them. Results are moist rather than crusty, and it uses more fuel than boiling water, so plan for it in your fuel count.
Check silicone baking cups on Amazon
3. The Omnia stovetop oven
The Omnia is a Swedish stovetop oven made of a steel base, a ring-shaped aluminum baking pan and a lid; it spreads one burner’s heat into a circular baking chamber. The Gear Bunker listed it at an MSRP of $67 and found it too bulky for backpacking but well suited to car camping and overland trips. Take it to a base camp or a canoe trip, not on a long thru-hike.
Check the Omnia stovetop oven on Amazon
4. The Outback Oven (discontinued)
The Backpacker’s Pantry Outback Oven, a heat diffuser, reflector and dome that turned a pot into an oven, was the classic backpacking baking kit. Hikers report it is no longer sold, so you will only find it secondhand.
Tips for baking on a backpacking stove
- Use the lowest flame your stove allows; most burn food before it cooks through.
- Pre-mix dry ingredients at home in a zip bag and add water in camp.
- Grease or line the pan, and keep the lid on to trap heat.
- Bring extra fuel: baking can take 15 to 30 minutes of burn time.
- Check fire rules before using coals, and follow Leave No Trace.

Hi, I am Emam Hasan — founder and editor of BrokeMountain. I oversee this blog’s hiking, camping and outdoor gear guides, making sure every article is well-researched, accurate and genuinely helpful for your time on the trail. Enjoy it!