Do you have some knowledge of drawing? Do you want to know how to draw a mountain? It is not a big deal if you have some time to read the entire content. I tried my best to arrange precious information for viewers. All the steps have been done very sensibly to make it more comfortable than require. No matter if you do not have much experience in the past. I will tell you from the start to the final of the draw.
Contents
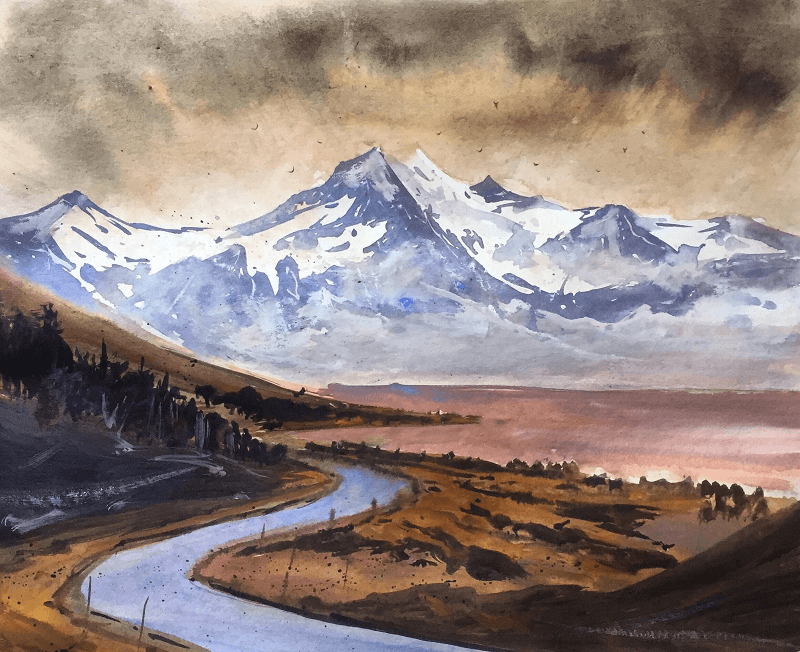
Try to make a dignified Mountains drawing.
How to draw mountains for beginners? You know that no one would like to see the lousy drawing of mountains. In the past, a lot of people rejected by the artists due to having nothing in it. You will be happy to know all the reliable points that will enhance your quality of work. You must have the essentials to make the draw of mountains. The foundations and outline are the practical options for you to get the real result at the end.
Six Steps for Mountain Drawing
How to draw mountains with trees? Here are the six steps for guiding to make the draw of mountains. Most of the artists used the monochromatic scheme. It means that you have to use only one color for the entire drawing. Moreover, the material must be of high quality, like a wider tip and more extended areas to handle.
I was hoping you could pick the Arteza’s Denim Blue A107 Twimarker. It is one of the best inputs for you to gain the outclass result. No doubt, if you want to practice, then do not leave it always.
How to draw mountains step by step? Here is the detailed information about all the required grades. If you leave anyone, you will not be able to find great work.
Step 1
How to draw mountains with a pen? At the initial stage, you have to clear that either the top paced on the paper. If not, then do not be late to fix it. Moreover, it can high or low because of the size of the document and pencil.
After that, make a rough sketch before starting the official work, which means you have to draw and faint lines with a pencil. These lines helped the artists to get a superior result in the end. Furthermore, make an absolute difference between the ups and downs of mountains.
The experts argued that make the vast faints for broad valleys then use the rules of descending further.
Step 2
In the first step, you made faints for getting an easy task in the 2nd step. So, now you have to bold the lines by using the Twi market best tip. While on the other hand, remove all the unnecessary lines from the page. Follow the next procedure for the next goal.
Step 3
I know there will not become a big issue to make all the required lines on the paper. Now, the well-known work has started in the shape of initial shadows. I will suggest making some harsh shadows in another form. This act will reduce the chances of mistakes. Start from the right-hand sides to the left-hand side. If you failed to focus on the task, we do not guarantee the best design.
Typically, there are three tones used in the drawing. These are the lighter ones, mid-tone, and dark. Make all the shadows under the faint or prominent lines. When you sure that all the work has completed, use the bold lines to give the required shape.
Step 4
In the fourth step, you need to put the mid-tone into the shadows of the mountain. You will also use the same smaller tip of Twi Marker as at the start. Hatching would be the best option for making halftones and other practices. How to draw mountains in the background? Hatching is the method to bold the lines vertically and horizontally or any other.
These lines must not go far away from each other. The whole area will start to dark to get the real shape into two sides. Moreover, it had covered all the regions on-page the. Hatching and use of market will leave a good impression for the readers.
Step 5
How to draw a mountain landscape? Use soft hands to make bold layers to make the dark shadows. There must be a contrast here because of more uneven surfaces and rigid lines to leave prominent shinings. You have almost done your work. Take a long pencil or market to leave a better-watching result. There is a final touch.
Step 6
In the final stage, take a marker to draw the small trees on the mountains’ shiny sides. Mountain drawing for kids will easy now. No problem if you like to post some random lines to increase the look of the mountain side. It is up to your hands that which would be the best choice.
All the procedures are described with a detailed description by knowing the steps. Get some precautions, which are also mandatory.
Precautions
Here are the three precautions while making the drawing of a mountain. If you failed to adopt these, we are not responsible for the real outcome at the end. Slowly and steady, always win the race, preferably the faster ones nowadays.
- One thing takes into account that if you want to get a miracle in drawing, try to visit the different sites and magazines on the internet.
- I would suggest to the newbies that do not hurry at the start. If you remained cool and calm in the initial stage, you would get better results for you. No problem if you waste a lot of pages in rough work. It enhances progress.
- TwiMarker is the best tool because of the dual tip. You have a chance to get help from it. Moreover, make thin lines for small tasks like the trees and borders of mountains. On the other hand, in large areas, we cannot ignore the benefit of it. Its smooth and reliable result is magical.
Final words
Amazingly, you are ready to draw all kinds of a mountain after reading the content. How to remove mountains will not a significant matter for you. If you still have any problem, then visit all the internet sources. Moreover, see the related pictures and videos for increasing more knowledge. However, practice will make you a complete artist. How to draw mountains on a map? I hope you will not worry before picking the pencil to remove all kinds of valleys and mountains.
Hi, I am Michael B.McMahon. I am a professional Hiker, Traveler, Climber & Mountainer. I love to travel a lot. I describe my all experience in this blog. I visit a lot of places. I hope my all article helpful everyone. Enjoy It